How to install the Desktop Sync Client
Note
If you are running a Windows Centrally Managed machine, please consult the Windows Service documentation and the information on Home folders on Windows computers.
The sync client can be installed using the provided Windows installation services, like CMF or the newer Intune.
Tutorial about CERNBox Client Install on twiki.cern.ch
Download the latest version of the CERNBox Desktop Synchronisation Client from the CERNBox Desktop Client page.
On macOS and Windows, installation follows the usual process for any software: download the installer, double-click it, and follow the steps in the installation wizard. A version for Mac computers running Apple Silicon (ARM processors M1/2/etc) is also available.
On Linux, the CERNBox client can be installed via the appropriate package management system (including for CERN official OSes), or by using the universal AppImage package.
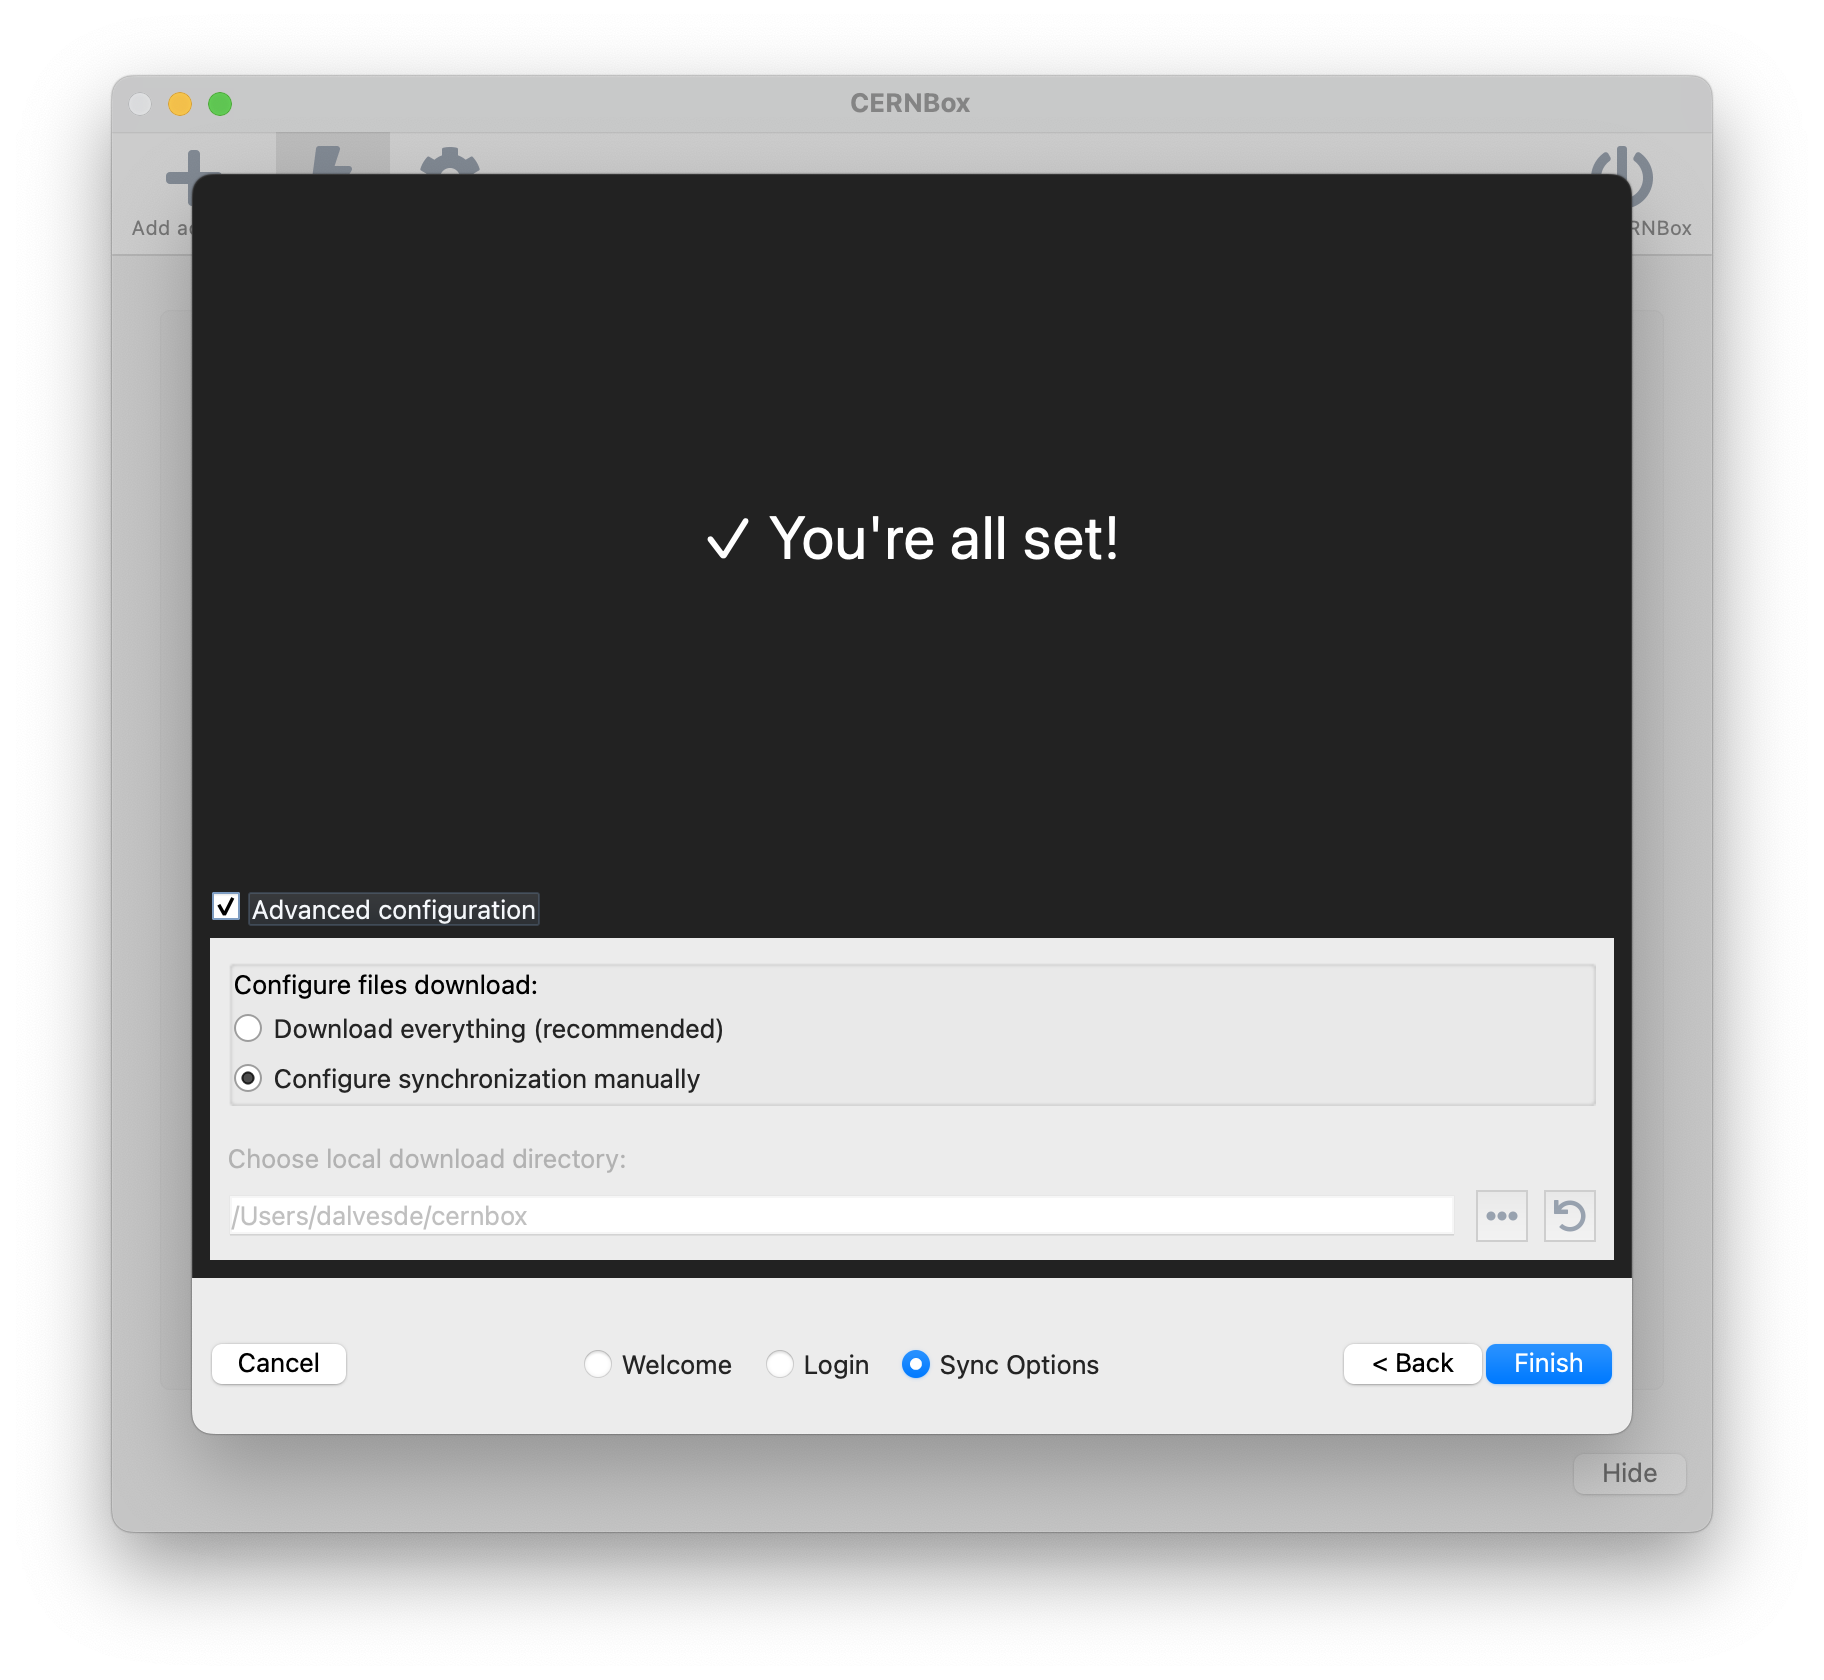
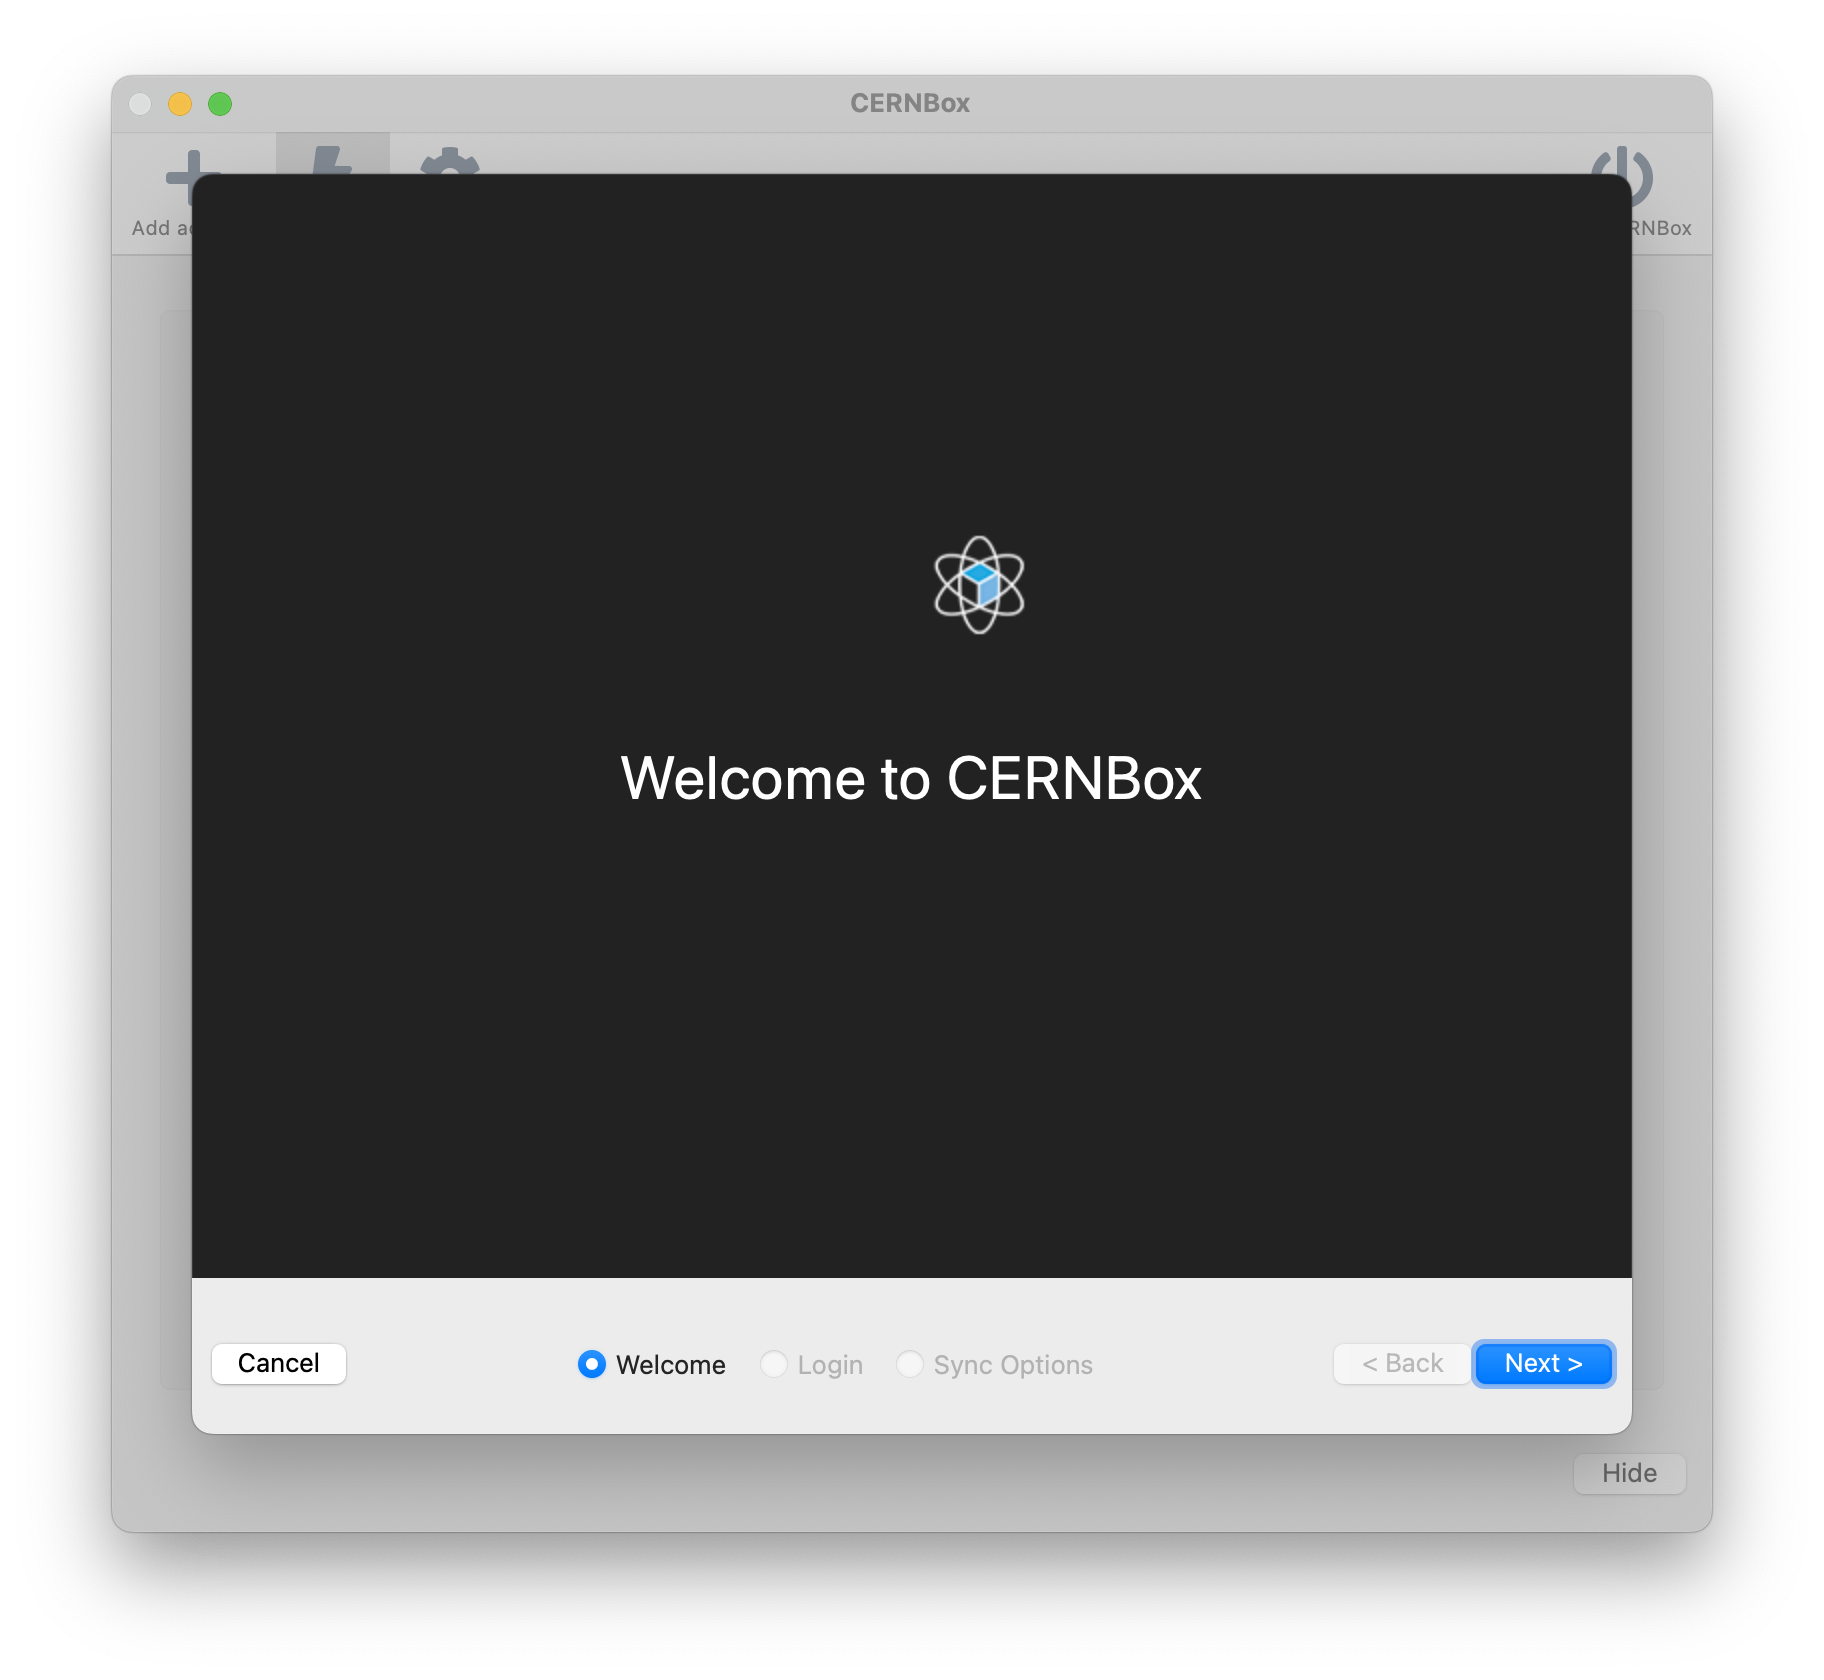
Once installation is complete, you will be prompted with a configuration window similar to the one shown below.
First configuration
By default, the behaviour of the CERNBox Desktop Client depends on the operating system:
- On Windows, the client uses the Virtual File System, which makes files appear locally without taking up disk space until they are opened.
- On macOS and Linux, all files in your CERNBox home directory are synchronised locally by default.
Other options can be configured by clicking on Advanced configuration, including manual synchronisation, which allows you to choose which folders to sync. See Managing Synchronisation for details.